Resizing images for the web
Comprehensive instructions on resizing images for the web along with the importance of compressing and naming images correctly can be found in the styleguide images page.
If you are a Windows user and don't have access to e.g. Photoshop, you can use the free software Photopea.
The guides below explain how to resize and save images using Photopea.
Looking for ready sized image templates?
Download a ZIP file containing common image dimensions (35 KB)
This file may not be suitable for some users of assistive technology. Request an accessible format.
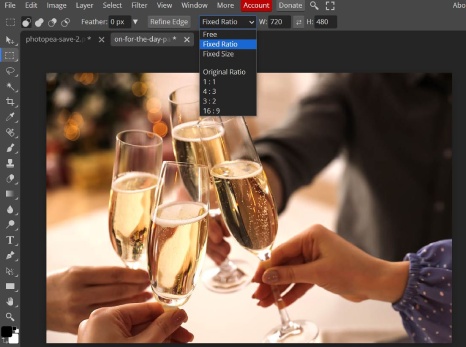
Cropping an image
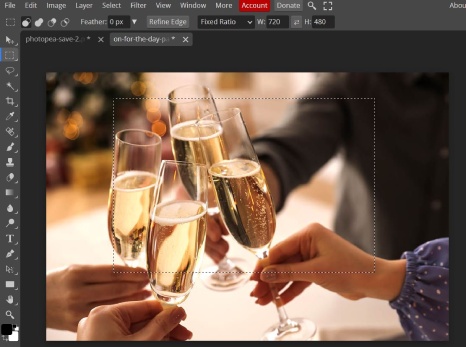
Step 1 - Click the selection tool on the top of the vertical selection bar on the left (dotted rectangular box, second icon down). On the horizontal bar at the top, change the dropdown from "free" to "fixed ratio". You can then enter your desired values in the boxes to the right.
Step 2 - Drag over the image to select which section you would like to keep - as you can see, the aspect ratio you specified remains the same.
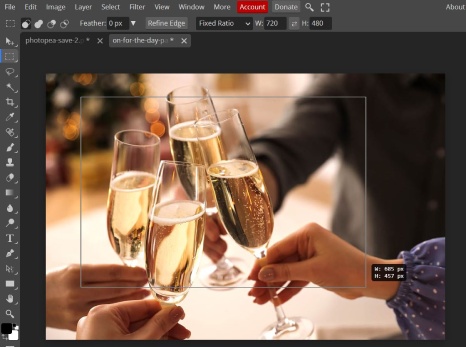
Step 3 - You can move your selection around using the mouse to further improve the accuracy of which section you want.
Step 4 - At the very top, click image > crop to crop your selection to the size specified.

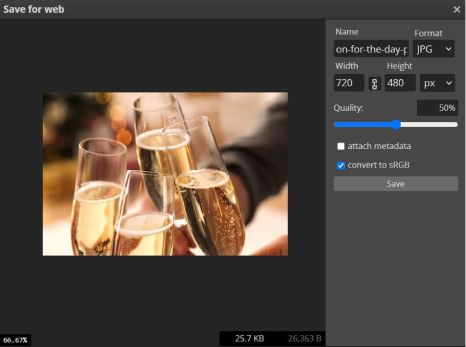
Saving an image
Step 1 - Click File > Export as > JPG
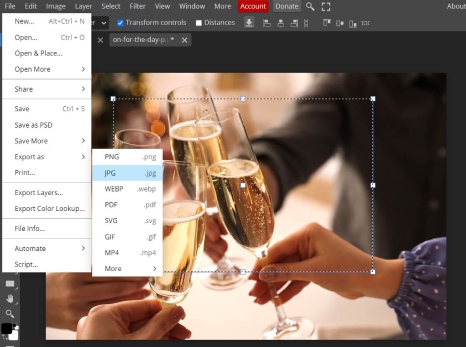
Step 2 - Reduce the quality via the slider to ensure the file size of your image doesn't exceed 300KB (it tells you the size at the bottom of the box underneath the image), then click save.